
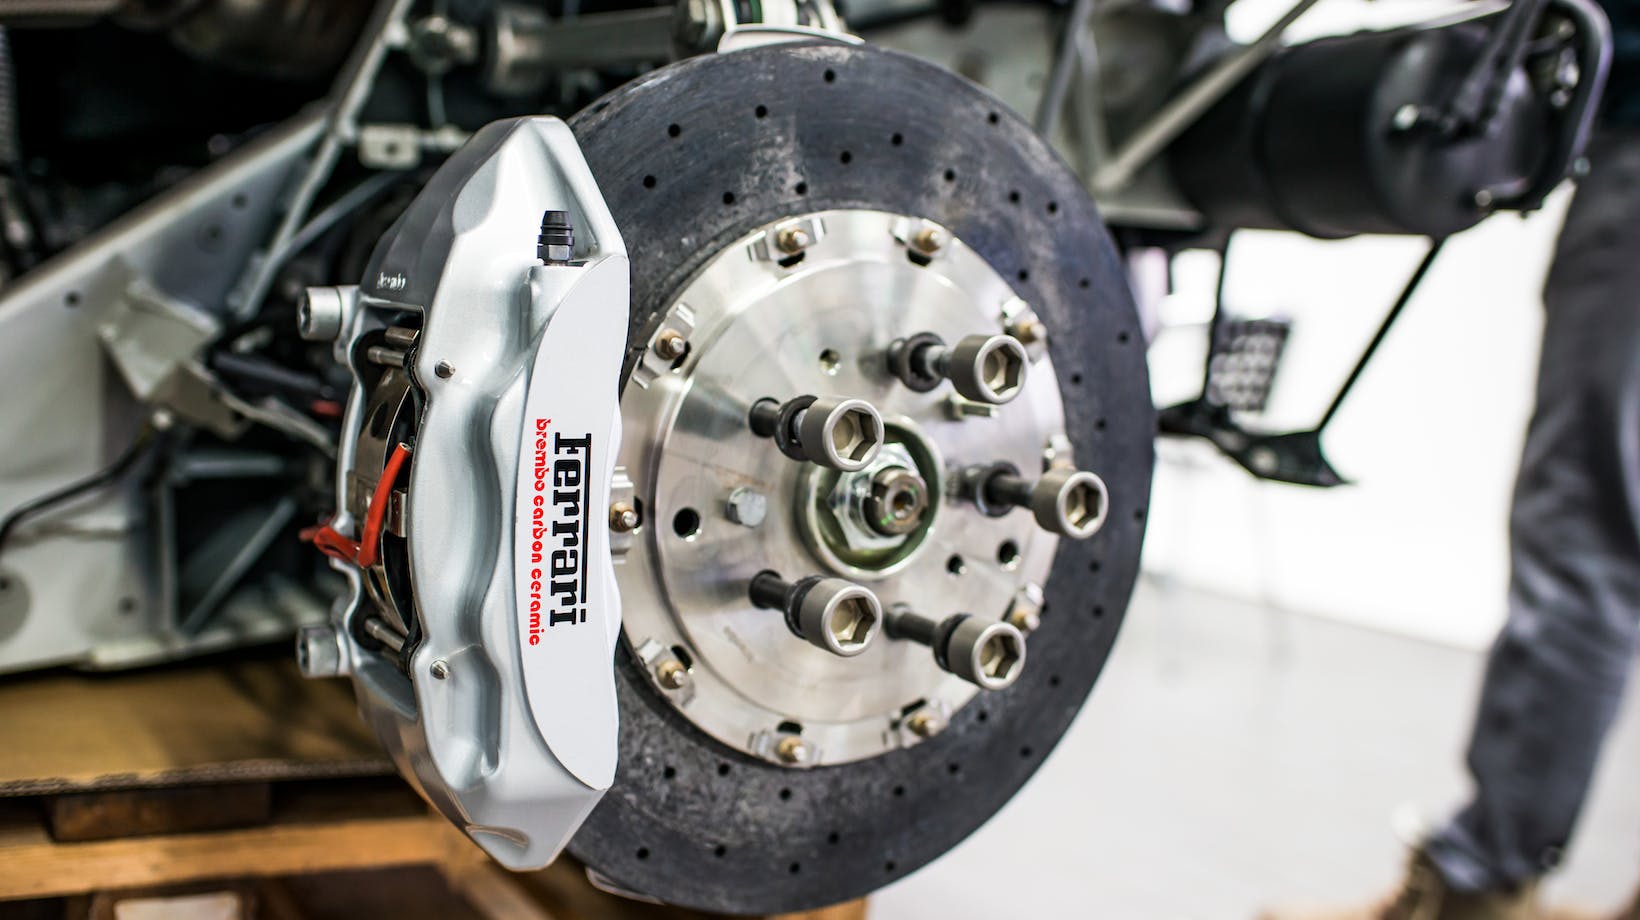
A slack adjuster is an integral component in a vehicle’s braking system. Anchored between the brake chamber and the brake camshaft, it’s tasked with translating the force from the brake chamber into a twisting motion applied to the brake camshaft.
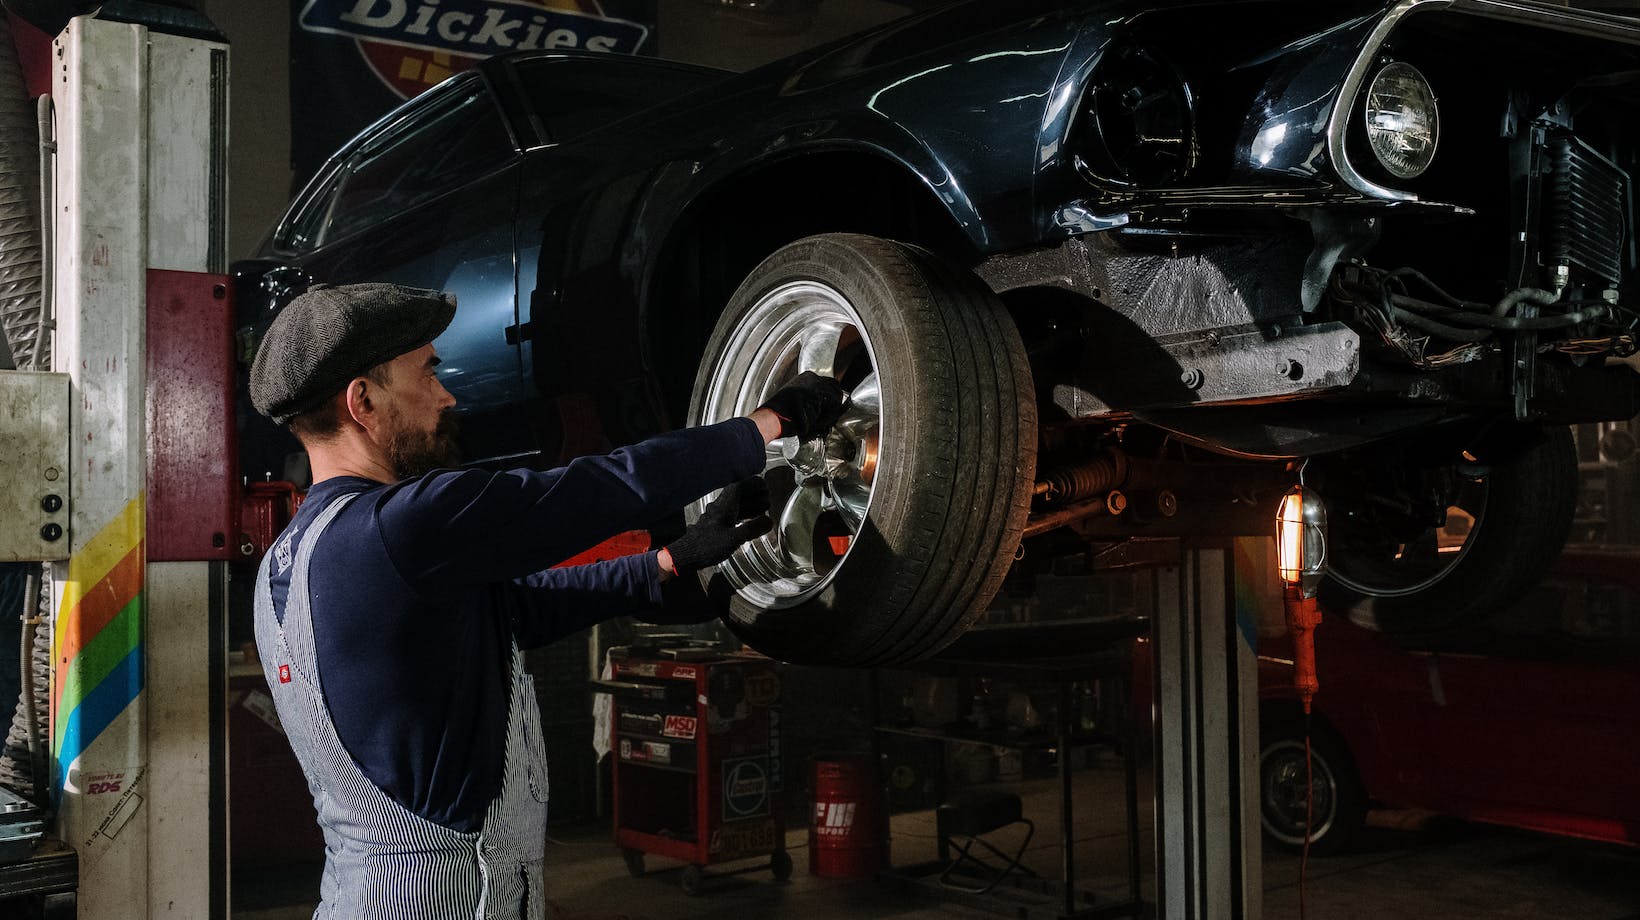
A Slack Adjuster Probably Needs to be Adjusted
Even though drivers may not always realize it, the vehicle is constantly sending out signals that indicate its current health status. Regular attention and upkeep, especially for parts as critical as the slack adjuster, can go a long way in maintaining vehicle safety, efficiency, and longevity. Here, they’ll explore some tell-tale signs that the vehicle’s slack adjuster might need attention or adjustment.
Uneven Brake Wear
Uneven brake wear is a significant indicator that there’s a problem with the slack adjuster. If one side of the brake pad looks worn more than the other, it’s a clear indication that the slack adjuster isn’t distributing the braking pressure evenly among the brake components. It’s a common phenomenon in both types of slack adjusters: manual and automatic. In such scenarios, adjusting the slack adjuster can restore its ability to evenly distribute braking pressure and prolong the service life of the braking system.
Heavy Pulling to One Side
Another sign that could indicate a requirement for slack adjuster adjustment is when the vehicle is pulling to one side while braking. Heavy pulling to one side can be a manifestation of imbalance in the braking system. Such a symptom indicates that one side of the vehicle’s brakes is applying more pressure than the other, a possible consequence of a maladjusted slack adjuster. This issue not only affects the vehicle’s performance but also compromises safety.
Brake System Inefficiency
Lastly, brake system inefficiency can also be tied back to a poorly adjusted slack adjuster. If the driver is experiencing a longer than usual stopping distance or if the brakes are feeling less responsive, it might be due to the slack adjuster not imparting sufficient pressure on the braking mechanism. A slack adjuster in its prime condition ensures optimal brake engagement and thus, a safer and more efficient driving experience.
Recognizing these signs early can be a major step towards preventing expensive repairs and preserving the braking system’s overall health. They are encouraged to consult a professional mechanic if they suspect a slack adjuster’s malfunction for a thorough inspection and possible adjustment.
How to Adjust a Slack Adjuster
Adjusting a slack adjuster, whether manual or automatic, is a task that would require caution, precision, and an understanding of the mechanical aspects of a braking system. It’s not an overly complex procedure, but attention to detail is crucial. This process involves gathering needed tools, preparing the vehicle, loosening, adjusting, and checking the adjustment of the slack adjuster. Follow the steps outlined under each subheading.
Gather the Necessary Tools
Before beginning the process of adjusting a slack adjuster, it’s important to have the necessary tools on hand. These may include:
- Wrench (1/2 or 9/16 inch, depending on the slack adjuster)
- Pry bar
- Chock blocks
- Safety glasses
- Work gloves
Preparing the Vehicle
With the tools ready, next is to prepare the vehicle. Make sure the vehicle is parked on a flat surface with the parking brake engaged. Use the chock blocks to block the wheels and prevent unwanted movement.
Loosening the Slack Adjuster
Donning the work gloves and safety glasses, one can now proceed to loosen the slack adjuster. To do this, locate the adjusting bolt or nut on the slack adjuster. Using the right-sized wrench, turn the bolt or nut in the loosening direction. It’s important not to fully unthread the bolt or nut, just loosen it enough to allow for adjustment.
Adjusting the Slack Adjuster
For the adjustment process, the right-size wrench is used to turn the adjusting bolt until the slack adjuster achieves the desired level of tightness. Typically, the tightness is considered correct when the brake linings just touch the brake drum without applying actual braking force.
Checking the Adjustment
After adjusting to the ideal tightness, it’s crucial to check if the adjustment is correct. Again, use the pry bar to move the pushrod. The pushrod should move the linings inside the brake drum to generate a slight braking force. If this occurs, then the slack adjuster is properly adjusted. If not, the adjustment process might need a redo.
Remember, it’s beneficial to have a professional mechanic inspect the slack adjuster and complete the adjustment procedure if there’s uncertainty about the process. It can help ensure the proper functioning of the vehicle’s braking system and would also help to avoid unintended damage or injuries.
More Stories
The Allure of Ancient: Why Pharaoh-Themed Slots Never Go Out of Style
Time Management Skills You Can Learn from Gaming
Forza Horizon 5: A High-Octane Paradise