
Anyone with an iPhone can take great photos, but not everyone knows how to make the most of the basic editing tools that are available. This post will show you how to use them to get great results in just a few simple steps!
Open the Photos app and select the photo you want to edit.
Find the photo you want to edit in your camera roll, and tap on it to open it in the editing interface.
Tap on the Edit button in the top right corner of the screen
Tap on the Edit button in the top right corner of the screen. This will open a menu of basic editing tools.
- # Crop the photo
Tap on the Crop button in the bottom left corner of the screen. then use your fingers to drag and resize the photo until it’s cropped to your desired size and shape.
- # Adjust the brightness and contrast
Tap on the Adjust button in the bottom right corner of the screen. then use your fingers to drag the Brightness and Contrast sliders until you’re happy with the way your photo looks.
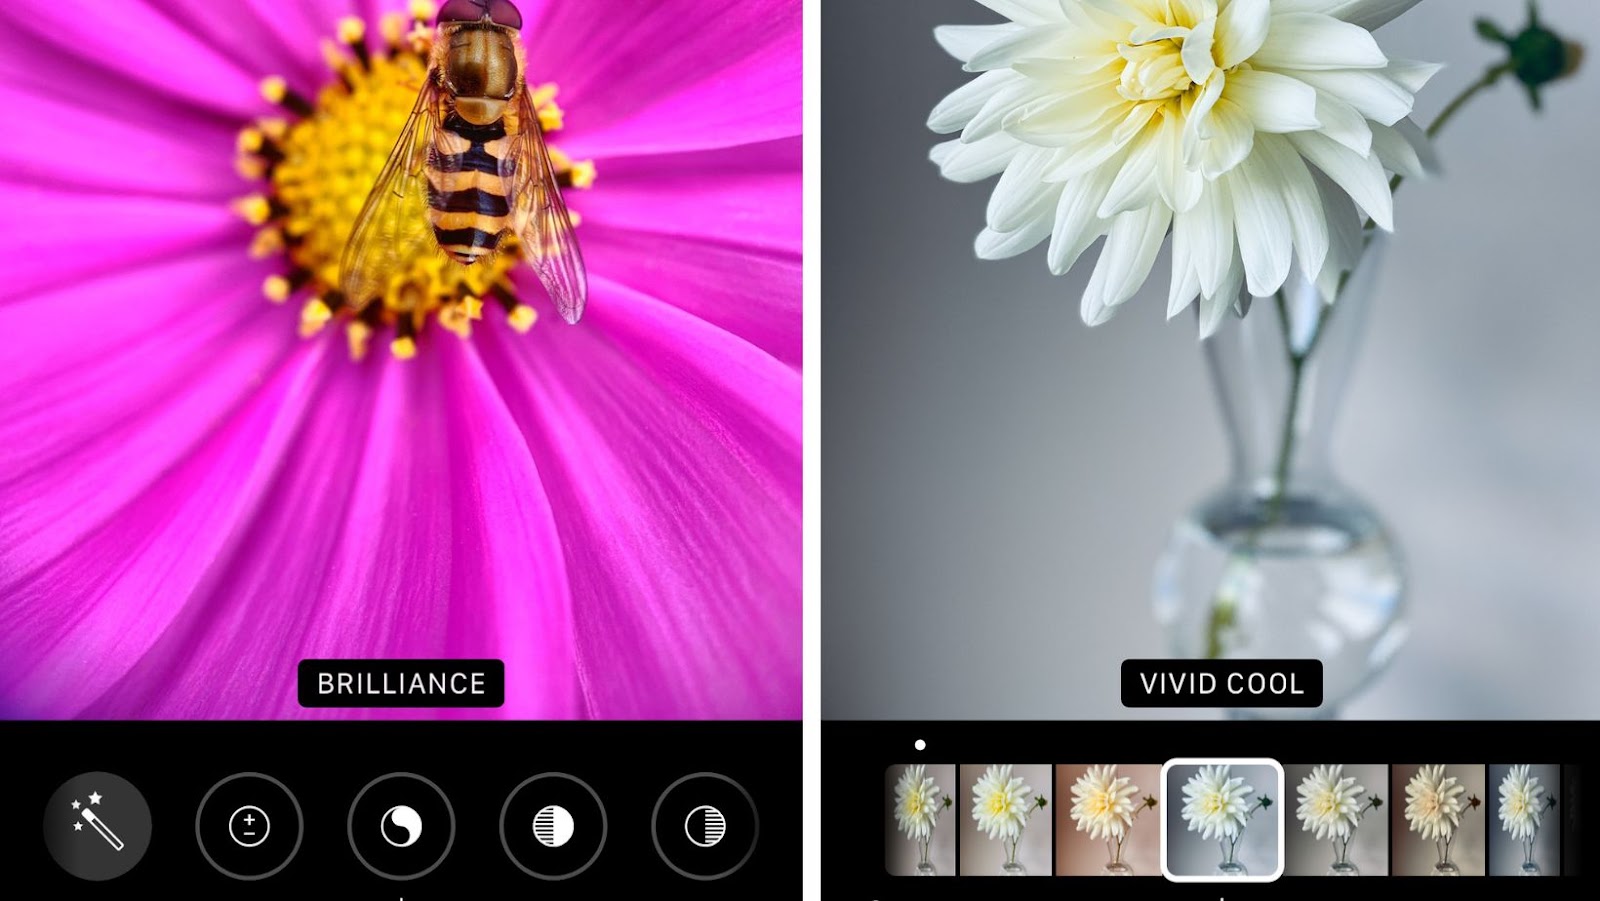
- # Add a filter
Tap on the Filter button in the bottom left corner of the screen. then scroll through the available filters and tap on the one you want to apply to your photo.
Use the slider at the bottom of the screen to adjust brightness, contrast, and saturation
In the bottom left-hand corner, you’ll see a slider with three options: Original, Light, and Dark. This adjusts the overall lightness or darkness of your photo. If your photo is too dark, try tapping on the ‘Light’ option; if it’s too bright, try tapping on ‘Dark’.
- To the right of the lightness/darkness slider, you’ll see a button that says ‘Auto’. Tapping on this will automatically adjust the lightness/darkness of your photo for you.
- Just above the ‘Auto’ button, you’ll see a slider labeled ‘Exposure’. This adjusts how bright or dark the photo is.
- To the right of the exposure slider, you’ll see a button labeled ‘Contrast’. Tapping on this will increase or decrease the contrast in your photo.
- Just above the contrast button, you’ll see a slider labeled ‘Saturation’. This adjusts the amount of color in your photo.
- To the right of the saturation slider, you’ll see a button labeled ‘Sharpness’. Tapping on this will make the details in your photo either more or less sharp.
- Just above the sharpness button, you’ll see a slider labeled ‘Tint’. This adjusts the overall color cast of your photo.
Tap on Done in the top right corner of the screen
When you’re happy with the changes you’ve made, tap on the ‘Done’ button in the top right corner of the screen. This will save your edited photo to your camera roll.
How to invert colors on picture on iphone
There is more than one way to invert colors on a picture on an iPhone. One method is to use a third-party app, such as Invert Colors or Color Tint. Another method is to use the iPhone’s built-in photo editor. To invert colors using the iPhone’s photo editor, follow these steps:
1. Open the Photos app and select the picture you want to edit.
2. Tap Edit in the top right corner of the screen.
3. Tap the button that looks like a circle with three dots in the bottom left corner of the screen. This will open up the Photo Editor menu.
4. Tap the button that looks like a paintbrush in the bottom right corner of the screen. This will open up the Adjustments menu.
5. Tap Invert Colors.
6. Tap Done in the top right corner of the screen when you’re finished.
More Stories
The best way to find your phone
Get rid of Gmail labels to boost your email marketing
Advantage of a bigger keyboard on iphones